

Table of contents
A signup or registration page is one of the most essential components of a website. A responsive registration page is advantageous because it increases user experience and reaches more audiences.
This article will show you how to create a simple login page using HTML and CSS.
Introduction
HTML
Html means HyperText Markup Language. It is the standard markup language used to create a web page.
HTML displays text, images, audio, and video on a webpage. It is usually assisted with other technologies such as Cascading Style Sheets (CSS) and a scripting language such as JavaScript.
HTML tells the browser how to display the content on the webpage.
CSS
CSS means Cascading Style Sheets. It describes how the HTML tags are to be displayed. CSS is used for styling and imputing rules. It serves the main purpose of design.
There are three types of CSS:
Inline CSS
Internal CSS
External CSS
Prerequisite
To begin building the login page HTML, you need to have the following:
Knowledge of HTML tags
Knowledge of CSS tags
Code editor, e.g., Visual Studio Code
play.google.com/store/apps/details?id=lk.vi..
or Sublime Text.
play.google.com/store/apps/details?id=com.c..
Note
Steps to follow
STEP 1: Go to file manager on your mobile, and create a new folder. Give it the name "index.html."
STEP 2: Using Visual Studio Code. Search for the file you created

STEP 3: Create a structure for the login page using the basic html tags
<!DOCTYPE html>
<html lang="en">
<head>
<meta charset="UFT-8">
<meta http-equiv="X-UA-compatible" content="IE=edge>"
<meta
name="viewport"content="width=device-width, initial-scale=1.0">
<title>sign up page</title>
</head>
</html>
STEP 4: Next, input the content of the login page (name, email, and password) using html.
<!DOCTYPE html>
<html lang="en">
<head>
<meta charset="UFT-8">
<meta http-equiv="X-UA-compatible" content="IE=edge">
<meta name="viewport" content="width=device-width, initial-scale=1.0">
<title>sign up</title>
</head>
<body>
<!--this is a login form-->
<div class="reg" id="reg_form">
<h1>Register</h1>
<form>
<!-- input field for Name -->
<label for="name">Name:</label>
<input type="name" id="name" name="name" required>
<!-- input field for Email -->
<label for="email"> Email:</label>
<input type="email" id="email" name="email" required>
<!-- input field for password -->
<label for="password">Password:</label>
<input type="password" id="password" name="password"required>
<!-- the input with type button triggers the function Login() -->
<input type="button" value="Create Account" onclick="Login()">
</form>
</div>
</body>
</html>
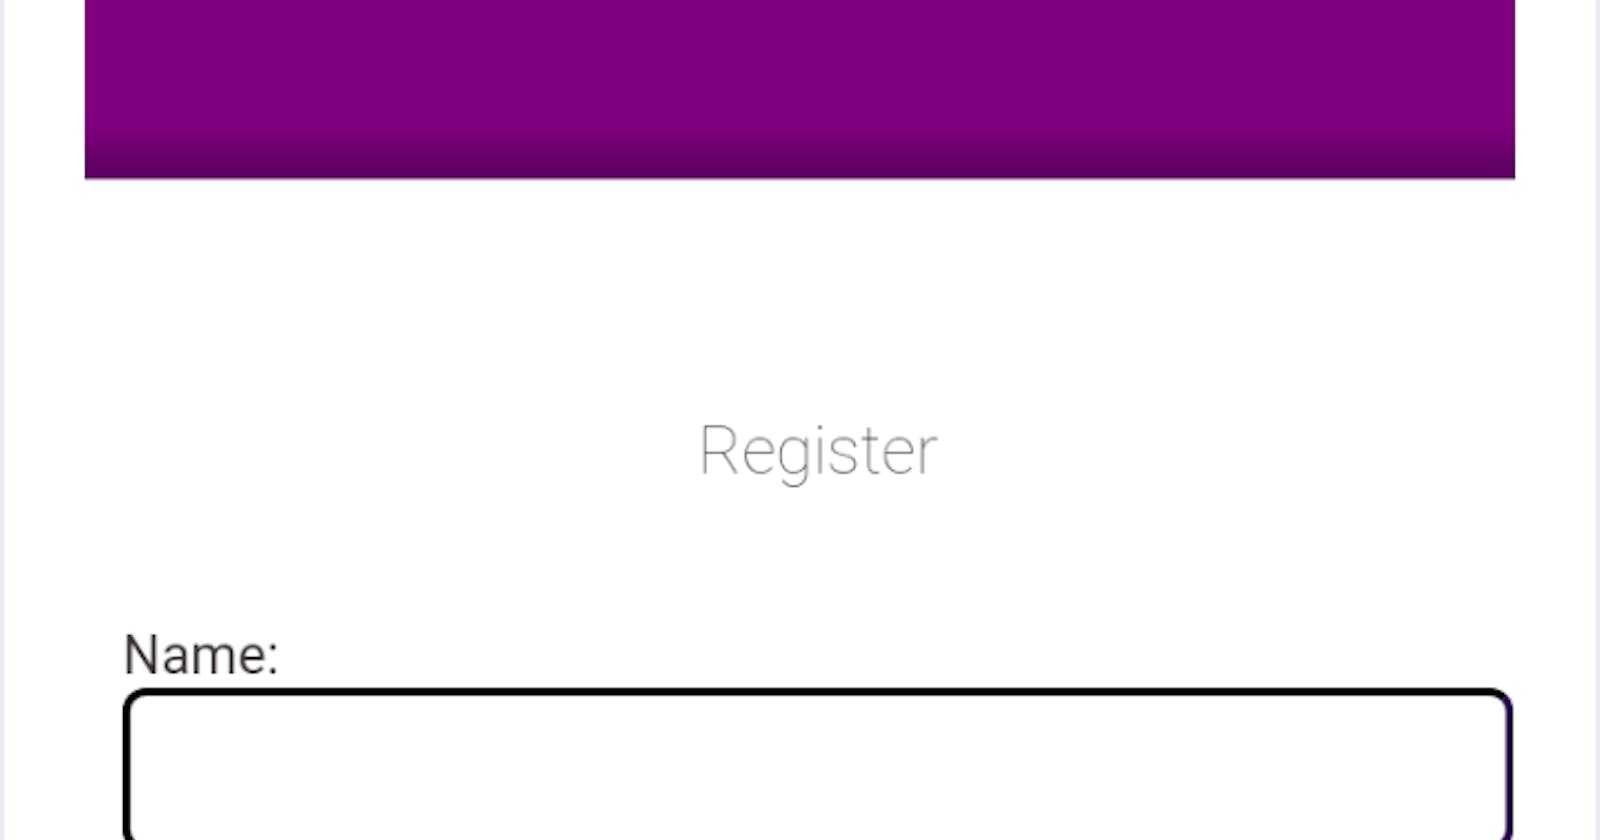
STEP 5: click on the web view to see the outcome of the html.
This is what the login page looks like.

STEP 6: We will apply CSS to style the page
<style>
body {
font-family: 'Trebuchet MS', 'Lucida Sans Unicode', 'Lucida Grande', 'Lucida Sans', Arial, sans-serif;
background-color: purple;
}
h1{
color: rgba(0, 0, 0, 0.774);
text-align: center;
font-size: 20px;
font-weight: lighter;
padding:20px 0px 20px 0px;
font-family:'Gill Sans', 'Gill Sans MT', Calibri, 'Trebuchet MS', sans-serif;
}
.reg{
width: 350px;
margin: 50px auto;
background-color: white;
padding: 25px;
border-radius: 10px;
box-shadow:2px 3px 9px 10px rgba(22, 1, 31, 0.349) ;
}
form{
display: inline;
margin-bottom: 20px;
}
label{
width: 100%;
margin-bottom: 50px;
font-size: 16px;
color: rgba(44, 39, 39, 0.925);
}
input{ width: 100%;
margin:0px 0px 25px 0px;
border-radius: 6px;
padding: 12px 18px;
box-sizing: border-box;
border-width:2px;
border-color: rgb(40, 2, 73);
}
input[type="button"] {
width: 100%;
background-color: rgb(40, 2, 73);
color: rgb(243, 239, 239);
border-color: rgba(255, 255, 255, 0.027) !important;
}
</style>
STEP 7: Our final output will appear this way after applying the CSS.

Conclusion
HTML is used to create the structure of a web page. CSS is used to design and create a beautiful webpage. Java script is used to make a website responsive. Therefore a responsive login page allows users to gain access to the website, and to create a responsive website; you must involve Java script.
For references and meanings of the html tags click here.