How to input JavaScript on your simple HTML and CSS login page and deploy to netlify.


This is a continuation article on how to create a simple login page using html and css. Here we will add JavaScript and deploy the login page to netlify
To read the previous article click here.
As it is said you must learn to crawl before you walk.
Having said that, let's dive in.
In this article We are going to be using JavaScript to make the login page interactive.
Introduction
What is JavaScript?
JavaScript is a programming language that is used to create an interactive web page or website. It can also change the HTML and CSS code.
Note: JavaScript does not make a website responsive, the main function of JavaScript is that it allows the implementation of complex features on a website. It makes a website interactive.
Prerequisite
To add JavaScript to the login page and deploy to netlify we will need the following;
Knowledge of JavaScript
A netlify account
A GitHub account
Code editor, e.g. Visual Studio Code or Sublime Text.
JavaScript code
- First we create a function called "Login" inside the script tag.
function Login(){
// all login code goes here
}
Inside the function we declare three variables that will store each values from the three inputs
Username
Email
Password.
function Login(){
var userName
var inputEmail
var inputPw
}
- In other to get the values from the inputs fields we use a query selector that uses the ID from the element
[ document.getElementById(" ").value ]
function Login(){
var userName = document.getElementById("name").value;
var inputEmail = document.getElementById("email").value;
var inputPw = document.getElementById("password").value;
}

- Using conditional "if" we set conditions to check the emptyness of each input box before submit, using the arrangement below
//if(userName == ''){
//if(inputEmail == ''){
//if(inputPw == ''){

Using conditional "else" we set conditions to check if the conditions "if" are false
We use alert to prompt a dialog box to tell the user when each inputs is empty
// if(userName == ''){
// alert("Name field is empty");
//if(inputEmail == '' ){
// alert("Email field is empty");
//if(inputPw == '' ){
// alert("Password field is empty ");

This is the effect after inserting our JavaScript code.
How to deploy to netlify
To deploy to netlify, we need to;
Push our code to git
Deploy on netlify
Push our code to git
Step 1:
Create a GitHub account.
Step 2:
Click on "new repository"

Step 3:
-Give your repository a name
-Add a description of your repository
-Tick "Add a README file"
-Then click on "create repository"

Step 4:
-Click "add file", a drop down will appear
-Click "create new file"
-On the new page, paste your JavaScript code
-Click "commit new file"

Step 5:

By this, you have successfully pushed your code to Git.
Deploy to netlify
Step 1:
Create a netlify account

Step 2:
- on the navigation bar, click on "sites"
-locate the "add new site" button, a drop down will come up
- select "import an existing project" to add the code base on GitHub

Step 3:
- select "github" to connect to a github so as to have access to you github repository
- an authorisation page would appear, click to confirm
- netlify will display all your repositories
- select your repo
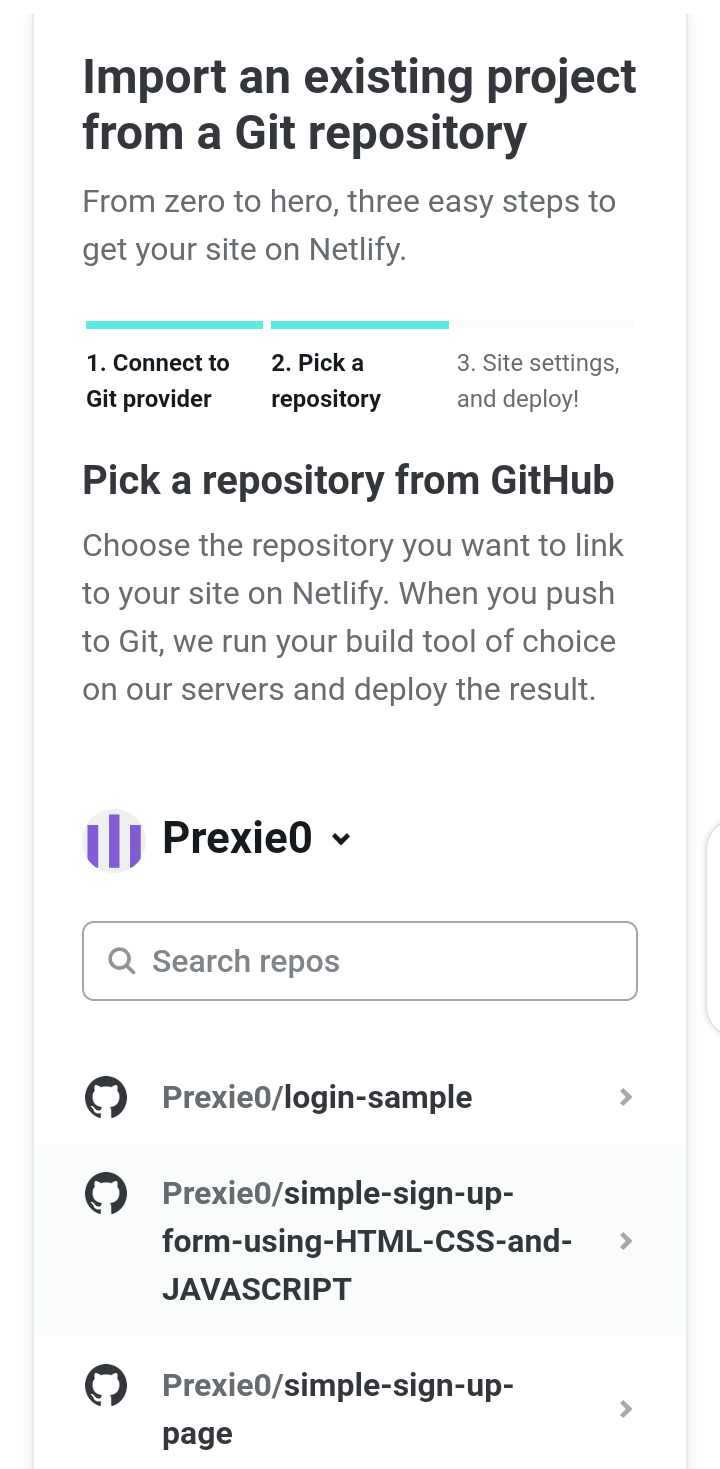
Step 4:
- netlify will automatically deploy it
- your url all will be displayed for you to view your deployed site.

With this, our site is active and running

https://dreamy-sherbet-918a6a.netlify.app/
This is the link to the deployed site
Conclusion
GitHub is a platform that is used to host code and make collaborations. With GitHub two or more people can jointly work on a project.
While netlify is used to deploy local servers or websites that can run and be shared with many people.